This blog post may contain affiliate links. If you click on these links and make a purchase, I may receive a commission at no extra cost to you. Please note that this blog is primarily for educational purposes and the content here is not intended to be a substitute for professional financial advice. Please review my disclaimer and terms here.
Someone in Low Hanging System recently discovered a great free tool that allows you to create word cloud designs in pretty much any shape and color scheme you want.
You can use these designs to do things like:
- Sell unique UGB products (mugs, pillow cases, etc)
- Sell as digital download “printables”
- Make your ebooks or blog posts pop
- Create social media images
- Sell! Ha – there are over 100 gigs on Fiverr for this at the moment. ;)
To show you what you can do with this tool I pulled a list of “happy words” off a random search and made some examples:
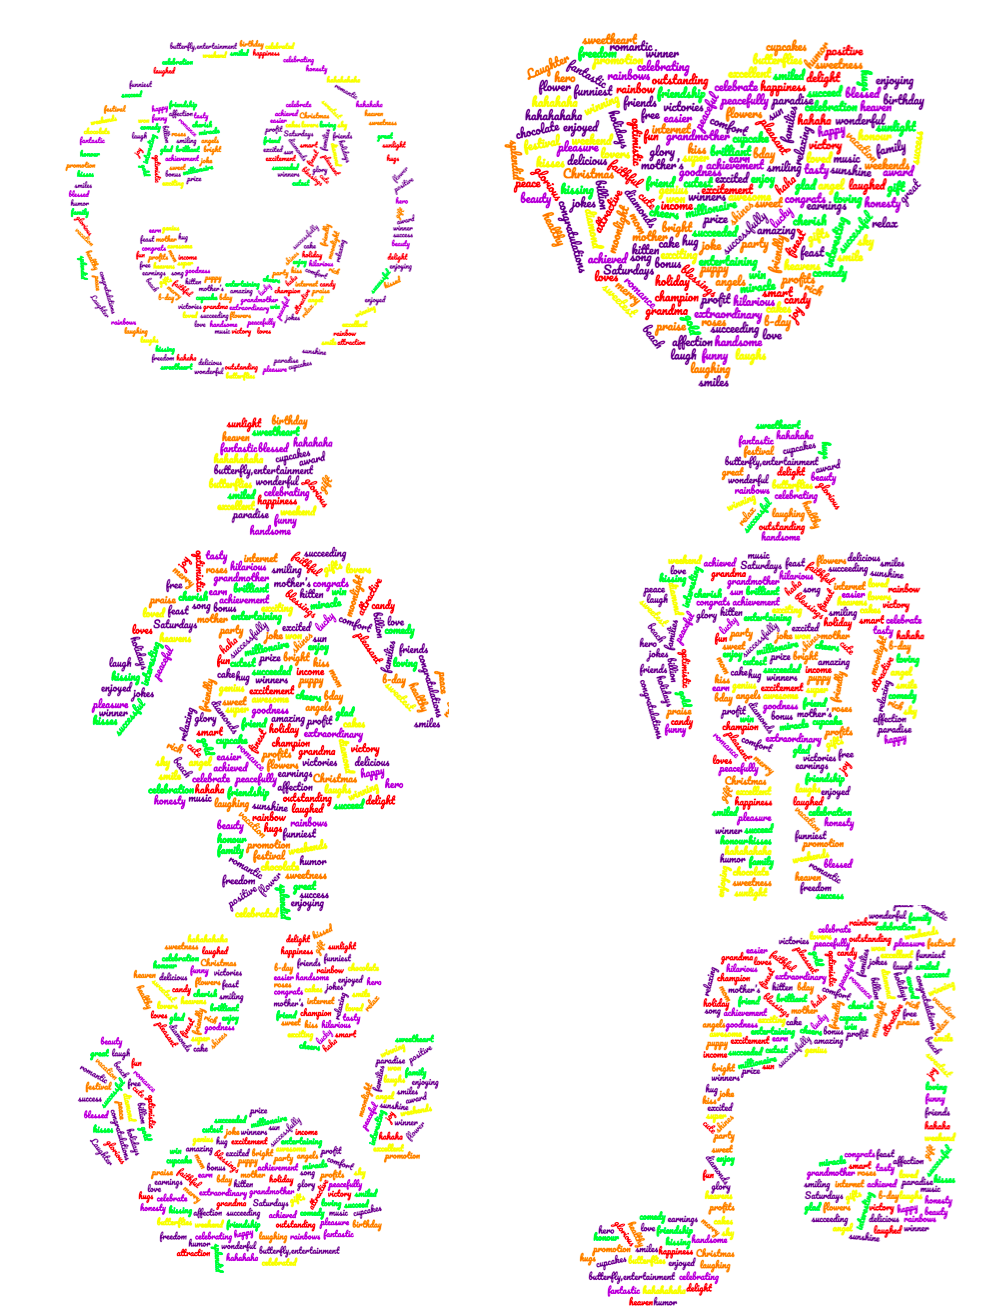
In their FAQ, WordClouds says “The word cloud images you create are yours to use any way you see fit. You are even allowed to use the generated word clouds commercially.”
That said, here’s how Michaela (my assistant) and I create and sell images with this tool.
How To Create Your Word Cloud Images
Step 1: Go to WordClouds.com
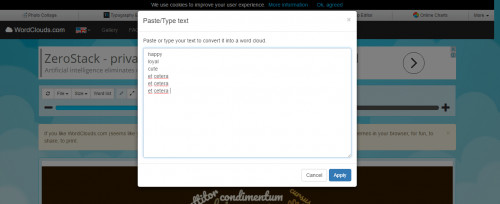
Step 2: Click “Word list”, then go to “Paste/Type text to paste in a big list of words you want to include in your design. Tip: the more words, the better the final result: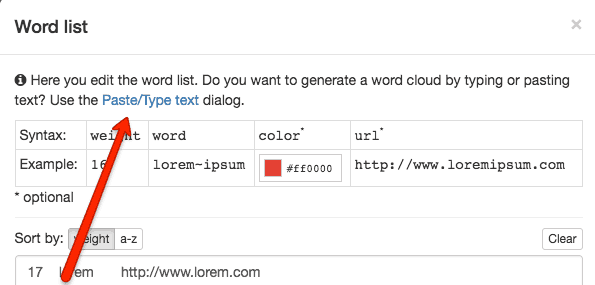
In this example we’ve added words to describe dogs (happy, loyal, cute, etc.) and positive/motivational words (appreciative, amazing, etc).
Step 3: From the “Size” tab, decide what size you want your word cloud to be.
Michaela left the default size option selected, which is 1024 X 768. There are tons of options including a size for Facebook covers.
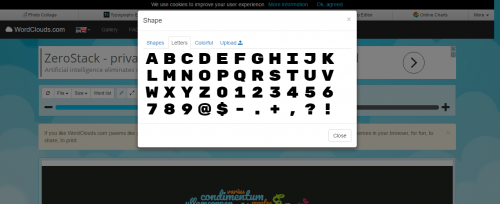
Step 4: Click the “Shape” button and either choose a shape from the default options or upload a design of your own (silhouettes work best).
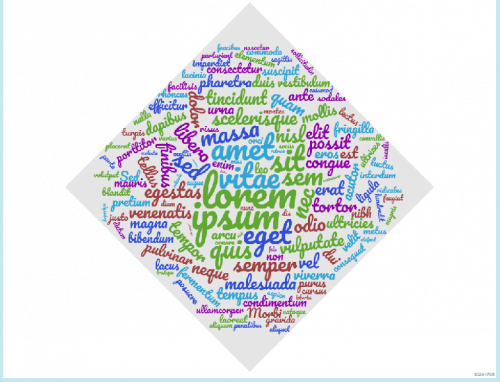
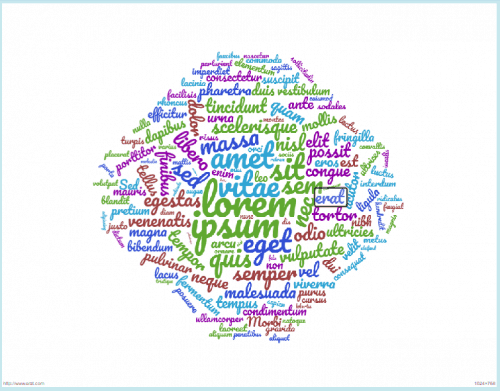
Step 5: Decide whether or not you want to include a mask with your design. Having the mask turned on shows the shape’s shadow as the backdrop (see below).
Michaela decided it looked better to keep the mask turned on with the designs she made. But it’s totally up to you.
Mask On
Mask off
Step 6: Choose a color theme for your word cloud. Or, go to the “Colors” tab and select your own cloud colors and hit apply. Here, you can also adjust the color of your word cloud mask if you chose to have it turned on.
Step 7: Select the font you want for your Word Cloud words.
Step 8: Adjust the numeric sliding scale underneath the tab options.
You’ll need to play around with this feature to get your word cloud to look just the way you want and results will vary.
Step 9: Click the “File” tab and download the PNG of your word cloud.
Step 10: Decide how you want to sell your word cloud.
How To Sell Your Images
There are several ways you can sell your designs, but here are some of the main ways we’re using them:
1. Sell a digital printable.
Michaela put some designs up on Etsy as digital prints that people could download and print. You can sell them individually or as a matching set (a mug + digital download, for example).
Here’s a description Michaela used in her listings – you’re welcome to copy and paste it:
This listing is for an instant download of 1 PNG file of original artwork.
All you have to do is complete your payment and then your printable will be ready for download (no physical item is shipped to you).
This printable makes a great gift and would look fantastic hanging on the wall of [your target market, e.g. pet owners, people who crochet, etc].
How the process works:
1. Purchase the listing.
2. Once payment has been confirmed, you will be directed to the download page.
3. Click “Download” and save the PNG file to your computer.
4. When you’re ready, print the image, and enjoy!
NOTE: This is a digital download ONLY. Your purchase does NOT include framing materials. Also, the final print quality depends on the type of printer and paper used. For best results, print your printable at your local photo center.
Please let us know if you have any questions or concerns about your download. Your satisfaction is 100% guaranteed.
Thank you!
2. Put them on a done-for-you product.
You can put your designs on any of the products on UseGearBubble.com and then sell them on Amazon, Etsy, or eBay.
Posters are a perfect choice for this. So are photo boards, if you’re in LHS.
I hope you found this post useful. As always, feel free to comment below with your thoughts and/or results if you try it out.



2 thoughts on “This free tool makes text-based designs in 2 minutes or less”
it’s awesome to have the resources
Thanks for being willing to share, rachel